
A photograph is a flat rectangle, and the world it shows is not. Every time we press the shutter, three dimensions get squashed into two, and the picture either keeps some sense of the depth that was there or loses it entirely. The difference is not in the lens or the sensor. It is in how we arrange the elements of the scene so that the viewer’s eye can reconstruct the space. Three tools do most of that work: lines that lead, frames that enclose, and layers that stack. We use them so often that they have become reflexes, and this article tries to unpack the reflexes.
Lines that go somewhere
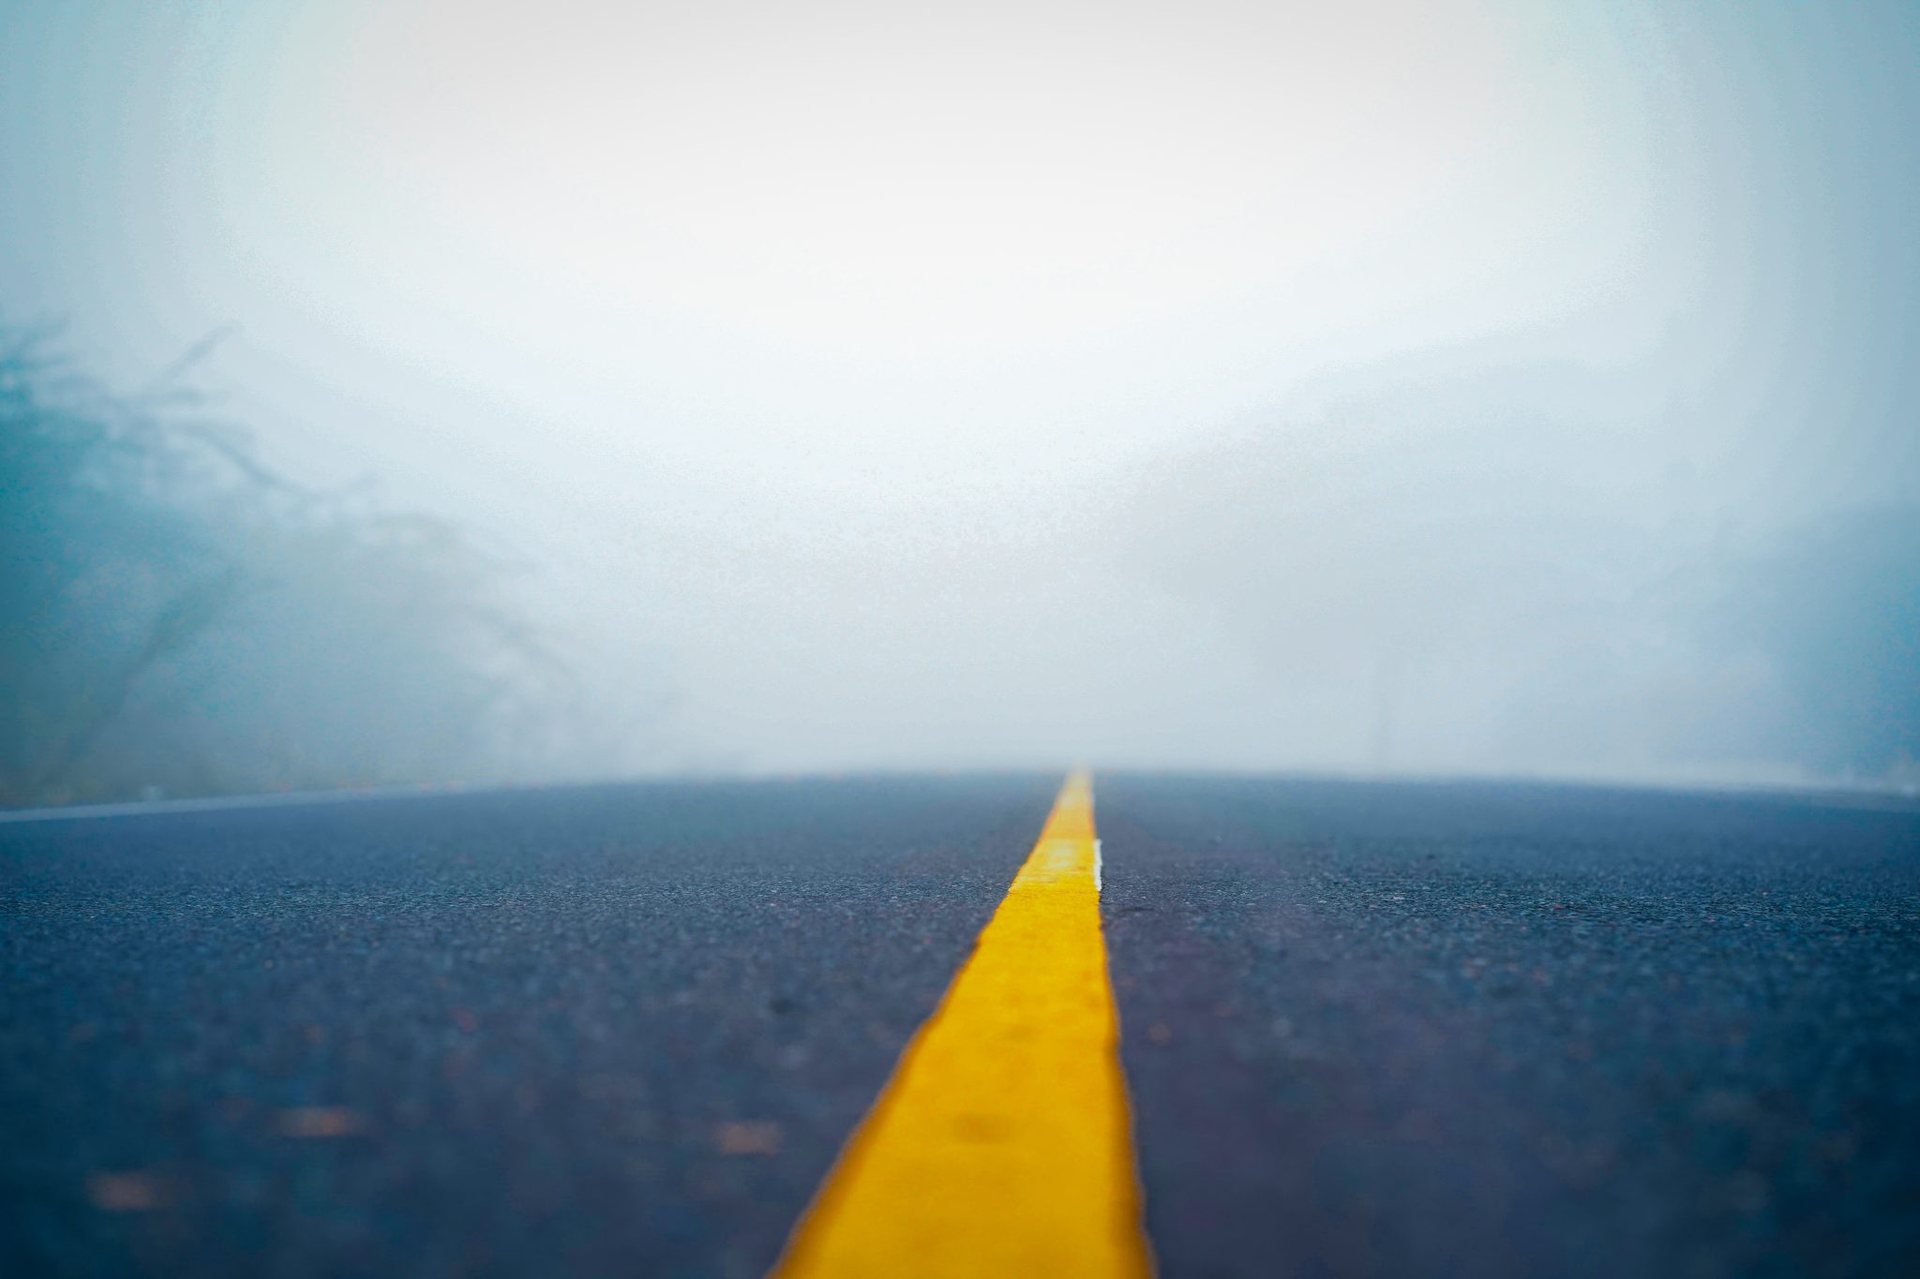
A leading line is any edge or path that the eye follows through the frame: a road, a fence, a shoreline, the edge of a shadow, a row of lamp posts, the curve of a railing. Its job is to give the eye a route, and the route is what creates depth. A road that starts wide at the bottom corner and narrows toward a distant point is a lesson in perspective that the brain reads instantly. Two parallel lines converging tell us, without any thought, that the space recedes.
The line needs to lead somewhere worth going. A path that runs to the horizon and stops at nothing has walked the viewer to an empty room. A path that ends at a cottage, a figure or a burst of light has completed a sentence. When we find a strong line, our first question is what it points at, and if the answer is nothing, we move until it points at something or we look for a different line.
Where the line enters the frame matters too. Lines that start at a bottom corner and run diagonally into the picture pull the viewer in from the edge and feel dynamic. Lines that run straight across, parallel to the frame, hold the eye at one depth and feel static, which is fine for calm subjects and deadly for anything you want to feel spacious. A slight shift of position, often just a step to one side, turns a flat horizontal fence into a diagonal that dives into the distance.
Lines do not have to be literal. A row of people, a sequence of similar objects, a gradient of light along a wall, all read as lines. Curves work as well as straights and usually feel gentler; an S-bend in a river takes the eye on a longer, slower journey than a straight road.
Frames inside the frame
A frame within the picture is anything that surrounds the subject on some or all sides: a doorway, an archway, a window, overhanging branches, the gap between two people in the foreground, the mouth of a tunnel. It works on depth because it establishes a near plane immediately. The frame is close, the subject is beyond it, and the viewer’s eye passes through one to reach the other. The passing through is the sensation of depth.
The frame also concentrates attention. It says, look here, not there. It hides distractions at the edges. And it adds context: a landscape seen through a barn door is a landscape with a story attached, because someone is standing in that barn.
Dark frames, soft frames, accidental frames
Two decisions govern how a frame reads. The first is exposure. A frame much darker than the subject, such as a shadowed archway looking out onto a sunlit square, becomes a silhouette and pushes the eye through with real force. A frame lit the same as the subject is gentler and keeps its own detail. The dark frame is more dramatic and the lit frame is more descriptive. The second decision is focus. A sharp frame competes with the subject for attention. A soft frame, thrown out of focus by a wide aperture, reads as a near plane without demanding to be looked at, which is usually what we want when the frame is foliage or a person.
Watch for accidental frames. Anything that partially surrounds the subject will be read as a frame whether you meant it or not, and a frame that is cut off on one side, or that touches the subject awkwardly, feels clumsy. Either commit to the frame and make it clean, or step out from behind it.
Layers: near, middle, far
The most reliable way to give a picture depth is to make sure it has a foreground, a middle ground and a background, and that each is distinct. The mind reads distance from overlap and from change: a rock in front of a lake in front of a mountain is three layers, and the overlap of each on the next tells us the order. Take away the rock and the picture becomes a postcard. Take away the mountain and it becomes a study. The three together become a place you could walk into.
The foreground is the layer photographers most often forget, because it is at our feet. Getting low and including it is the single change that most improves a flat landscape. A patch of wildflowers, a tide pool, a fallen log, wet cobblestones: any of these, placed close and large in the frame, anchors the near plane and makes everything behind it recede.
Separation between layers can come from several things, and the strongest pictures use more than one.
- Tone: a dark foreground, a mid-toned middle ground, a light background, or the reverse, so each plane is a different brightness.
- Focus: a wide aperture makes only one layer sharp, and the softness of the others tells us they are at a different distance.
- Atmosphere: haze, mist and dust wash out distant layers and lower their contrast, which is the oldest depth cue in painting.
- Scale: a known object, such as a person, tells us how far away that layer is compared to the others.
Putting them together
These tools are rarely used alone. A path through a gate toward a distant hill is a leading line, a frame and three layers in one frame. A person standing in a window looking down a street combines all three from a different angle. When you find a scene that feels flat, the fix is usually to add one of these elements rather than to change settings. Step back to include a frame. Step forward to grab a foreground. Step sideways to turn a horizontal line into a diagonal.
Depth is also a choice, not a duty. Some pictures want to be flat: a textile pattern, a wall of graffiti, a face filling the frame. Compression with a long lens deliberately stacks layers together until they become a single graphic surface, and that is its own kind of beauty. The skill is knowing which you are making, and having the tools to build depth when the scene calls for it.
Read next: Cape Verde Islands Travel Guide for Photographers: Light, Islands and Timing