
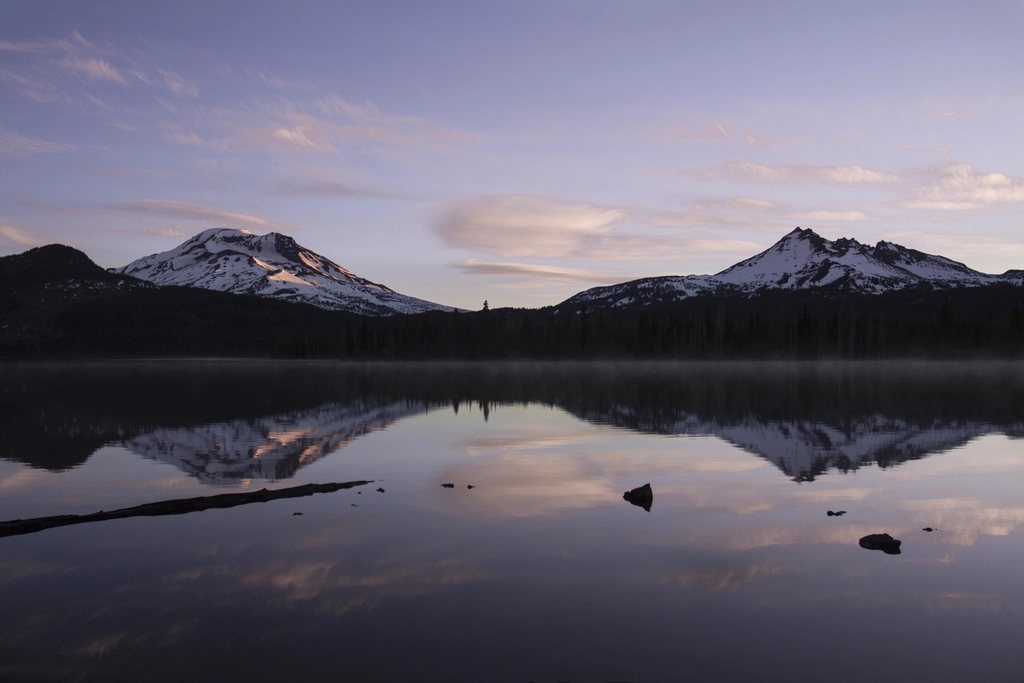
Most of the landscape photographs we are proud of were made before we left the house. That sounds like a paradox, but the picture is decided by where you stand, when you stand there and what the weather does while you wait, and two of those three can be planned. The third can at least be predicted. This article walks through how we plan a landscape shoot, from the first look at a map to the long wait on a cold headland.
Start with the map, not the camera
Every location has a handful of viewpoints that work and hundreds that do not. Topographic maps, satellite imagery and terrain views tell you where the ridges, coves and clearings are, how steep the approach is and which direction the view faces. We spend an evening on the map for every hour we expect to spend shooting. Look for elevation changes that put you above a subject, water that can act as a foreground or a mirror, and paths that will get you there in the dark without a rope.
Aspect matters more than most beginners realise. A valley that runs east to west will have its floor lit at both ends of the day; a north-facing cliff in the northern hemisphere will be in shadow at noon for most of the year. Note the compass bearing of the view you want, then check it against where the sun will rise and set on the date you plan to go. A little arithmetic here saves a wasted drive.
Sun position and the two golden windows
Sun position calculators, whether on paper or on a phone, give you the azimuth and elevation of the sun for any place and time. What we are looking for is the moment when the sun is low, roughly between minus six and plus ten degrees, and lighting the scene from the side or behind. Side light reveals texture in rock and grass; back light turns mist and spray into glowing shapes. Front light, with the sun behind the camera, is flat and rarely worth the alarm clock.
Remember that the sun’s path moves across the year. A viewpoint that catches the sunrise perfectly in March may be in shadow in December, because the sun rises far to the south-east in winter and far to the north-east in summer. Check the date, not just the location. And plan for the blue hour before sunrise and after sunset, when the sky is a deep even tone and the exposure is long. Some of our best frames came from the twenty minutes after everyone else packed up.
Tides, water and timing
On the coast, the tide is the most important variable and the one most often ignored. A beach that is a wide reflective sheet at low tide is a strip of pebbles at high water. Rock pools, sea stacks and causeways appear and disappear on a twice-daily schedule. Tide tables are published for every port, and the times shift by roughly fifty minutes each day, so a location that worked at dawn on Tuesday will be very different at dawn on Saturday.
We look for the combination of a low or falling tide with a low sun, and we plan around the fact that the two rarely coincide by accident. Spring tides, which occur around the new and full moon, give the biggest range, exposing sand and rock that is normally underwater. Be careful, though: a big incoming tide moves faster than people expect, and it is easy to lose a route back across a bay. Tell someone where you are going, and set an alarm for the turn of the tide.
Reading the weather without gambling
Weather is the variable we cannot control, but we can play the odds. Clear skies at sunrise are pretty and dull; a broken layer of cloud at the horizon with clear sky above it is the classic recipe for colour. Cloud cover percentages from a forecast service tell you roughly what to expect, and a cloud base height lets you guess whether a mountain top will be in cloud or above it. Rain clearing from the west an hour before sunset is the forecast we drive for.
Build a shortlist of locations that suit different conditions, and choose the morning before. Flat overcast light is wonderful for waterfalls and woodland, where contrast is the enemy. Wind is bad for long exposures of grass and trees but good for seascapes. Fog transforms ordinary places into graphic ones. The photographer who only has one plan goes home disappointed far more often than the one with three.
Gear, packing and safety
Landscape work is mostly walking, so pack light and pack deliberately. A sturdy tripod, a wide-angle and a short telephoto lens, a polarising filter and a couple of neutral density filters cover almost everything we do. Add a head torch, a spare battery kept warm in a pocket, a microfibre cloth for spray and a map that does not need a signal. The camera is the least of it; cold feet end more shoots than dead batteries.
- Check sunrise, sunset and tide times for the actual date.
- Note the compass bearing of your intended view.
- Save an offline map and mark the parking spot and the viewpoint.
- Pack layers, water and a head torch even for a short walk.
- Tell someone your plan and your expected return time.
The patience part
Arrive early. Forty-five minutes before the light is the minimum for us, which gives time to find the composition, level the tripod and let the eye adjust. Then wait. The temptation is to fire the shutter at every change in the sky, and there is no harm in that, but the real discipline is to keep looking. Light changes minute by minute, and the best frame is often the last one before the colour fades, or the one when the cloud you were cursing finally drifts off the peak.
If the light never comes, and often it will not, treat the trip as a scouting visit. Photograph the composition anyway, note the time, the tide and the sun position, and write down what would have made it work. Landscape photography is a long game played on the same handful of locations over years. Every failed morning is information for the next one, and the picture you are planning today will eventually be made.