
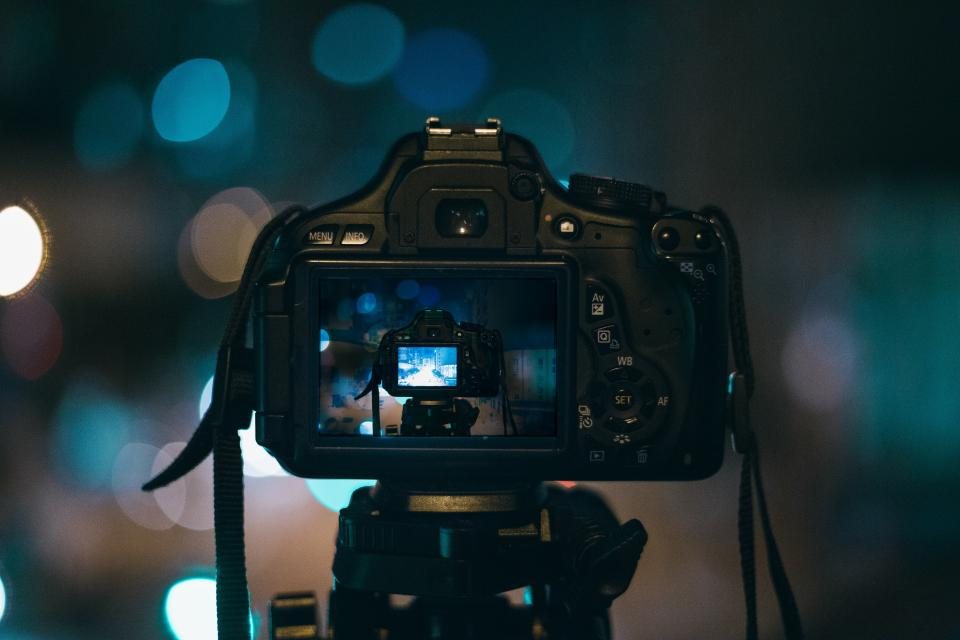
Autofocus on a modern camera is faster and smarter than most of us are, and it still misses. Almost every miss we see from students comes down to two decisions the camera cannot make on its own: which focus mode to use, and where in the frame to put the point. This article is about those two decisions. Menus vary and names differ between makers, so we use the generic terms: single, continuous, and the area modes that decide how much of the frame the camera is allowed to look at.
Single AF: lock, recompose, shoot
Single autofocus (often labelled AF-S or one-shot) does one thing. Half-press the shutter, the lens racks to the subject, focus locks, and it stays locked until you let go. Nothing that happens afterwards changes it. That makes it perfect for anything that holds still for a second: portraits, landscapes, architecture, food, products, and a lot of street photography where you pre-focus on a doorway and wait.
The classic technique is focus and recompose. Put the centre point on the eye, half-press, swing the frame to place the subject on a third, shoot. It works well at f/4 and beyond. At f/1.4 on an 85 mm lens with the subject at 1.5 m, depth of field is roughly 2 cm, and rotating the camera by a few degrees moves the plane of focus enough to land on the ear instead of the eye. At wide apertures, move the point instead of moving the camera.
Continuous AF: predicting where the subject will be
Continuous autofocus (AF-C or servo) never locks. While the button is held, the camera keeps measuring distance and driving the lens, and it also predicts. If a runner is closing at 5 m/s and the shutter lag is 50 ms, the subject moves 25 cm between the last measurement and the exposure. Continuous mode calculates that and focuses slightly ahead. That prediction is why it wins for sport, wildlife, kids, pets and anything on wheels.
The cost is that it never stops adjusting, so if you compose with the subject off the active point, the lens will hunt to whatever is under it. Continuous mode only works when the point is on the subject, or when you let a tracking mode follow the subject for you. It also drains the battery faster and, on some lenses, adds a faint motor noise. Neither matters when the frame is sharp.
Back-button focus: one habit that replaces both
Many of us set the camera to continuous mode permanently and move the focus command off the shutter button and onto a button under the thumb. Now the thumb decides. Hold it and the camera tracks; release it and focus locks exactly as single mode would. The shutter only fires. You get both modes without touching a menu, and you never again lose a frame because the shutter half-press refocused on a fence post.
It takes a week to feel natural and a month to become invisible. Set it up on a quiet weekend, not the morning of a wedding.
Area modes: how much of the frame the camera may use
The second decision is the area. Every camera offers a version of these choices.
- Single point: one small square, placed by you. Most precise, slowest to use. Best for portraits, macro and anything static.
- Expanded or small zone: one point with four to eight helpers around it. If the subject leaves the centre square briefly, the helpers keep it. Our default for people moving unpredictably at short range.
- Wide zone: a block covering a third to half of the frame. Good for birds against a clean sky, and for sports where you know roughly where the action will be.
- Full-frame auto with subject detection: the camera finds eyes, faces, animals or vehicles anywhere in the frame. Excellent when it recognises the subject, and unpredictable when it does not.
The rule we follow: use the smallest area that still keeps up with the subject. Small areas are precise; big areas are forgiving but occasionally forgiving in the wrong direction, grabbing the nearest high-contrast thing rather than the one you wanted.
Where to put the point
The camera focuses on contrast, and it prefers strong edges. With people, the point goes on the nearest eye, without exception. If the eye is too small in the frame for the point to grab, use the eyebrow or the line of the glasses, which sit in the same plane. For a group, focus on a face about a third of the way into the group’s depth and stop down to f/5.6 or f/8; at 3 m with a 35 mm lens that gives you about 1.5 m of sharpness front to back, enough for two rows.
For landscapes, the point goes roughly a third of the way into the scene, not on the horizon. With a 24 mm lens at f/11 focused at 2 m, everything from about 1 m to infinity is acceptably sharp. Focus on the far mountains instead and the foreground rocks go soft. For architecture and interiors, pick a wall or edge with clear vertical lines; plain painted surfaces make the lens hunt, and a light switch or a picture frame gives it something to bite.
Low light is the real test. Below roughly minus 3 EV, which is a dim room lit by one lamp, most systems slow down. Help them by finding an edge with contrast, by using a single point rather than a wide zone, and by switching off the focus assist beam in venues where it would be rude. If the lens hunts twice, switch to manual focus and use magnification; on a tripod that is often quicker than waiting.
A test you can do this evening
Set the lens to its widest aperture and photograph a friend walking towards you from 10 m to 2 m, first in single mode with focus and recompose, then in continuous mode with an expanded zone on the face. Count the sharp frames. Then do it again with subject detection switched on. Most people find the continuous run doubles their keeper rate and the detection run adds a bit more, at the cost of the occasional frame where the camera picked the lamp behind.
Three settings to fix, and then forget: continuous mode on the back button, expanded zone as your default area, and the point on the nearest eye. Everything else in the autofocus menu is a refinement, and a refinement only helps once the fundamentals stop costing you frames.