
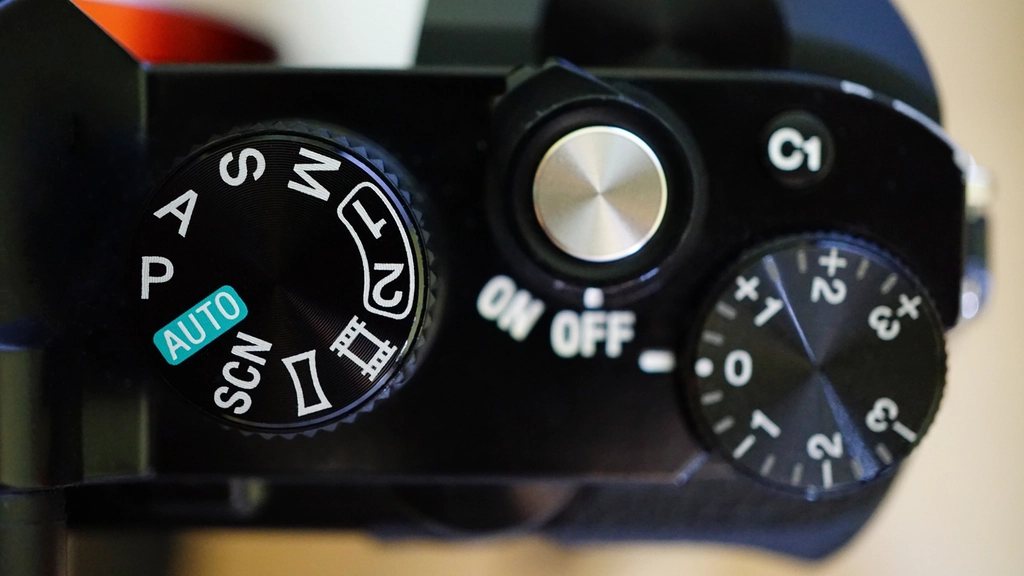
Manual mode has a reputation it does not deserve. People treat it as a badge, something you earn after years of aperture priority, when in fact it is just three dials and a meter, and the fastest way to learn it is to use nothing else for seven days. This is the plan we hand to friends who ask. It assumes you already know what a stop is and that you own a camera with a real mode dial, a lens, and a bit of patience. One day, one idea, and by Sunday the M setting stops being scary.
Day 1: learn the meter and the sunny rule
Switch to M. Set ISO 200, f/8, and 1/250 s, then point the camera at a sunlit scene outdoors. That combination is the classic sunny-sixteen rule shifted two stops, and on a bright day the meter needle in the viewfinder should sit near zero. Now spend an hour doing nothing but watching that needle. Point at the sky: it swings to plus two. Point at a shadow: it drops to minus two or more. Point at grass, a grey wall, a pair of jeans: it hovers near zero. That needle is the whole game. Every other day of this plan is just deciding when to trust it and when to ignore it.
Before you finish, take three frames of the same scene at minus one, zero and plus one, using only the shutter speed to change. Look at them on the back of the camera. You now know what a stop looks like.
Day 2: aperture decides the picture
Fix ISO 400 and go somewhere with a subject and a background: a park bench with trees behind it works. Shoot it at f/2.8, f/5.6 and f/11, adjusting the shutter speed each time until the meter reads zero. Expect something like 1/2000 s, 1/500 s and 1/125 s on an overcast morning. Look at the backgrounds. At f/2.8 they dissolve; at f/11 every leaf is there.
Then focus on a subject 2 m away with a 50 mm lens and shoot f/1.8 and f/8. The sharp zone grows from about 10 cm to roughly 60 cm. The lesson of Day 2 is simple: pick the aperture first, because it changes what the picture is about. The shutter just follows.
Day 3: shutter speed decides the motion
Today aperture stays at f/5.6 and ISO at 400 while you photograph things that move. Traffic, a fountain, a dog, someone on a bike. Shoot each subject at 1/1000 s, 1/250 s, 1/60 s and 1/15 s, changing ISO or aperture only when the meter forces you to. At 1/1000 s water hangs in the air as separate drops. At 1/250 s a walker is sharp but a cyclist is slightly smeared. At 1/60 s everything moving is soft. At 1/15 s the fountain turns to silk and the cyclist is a streak, which might be exactly what you want.
Finish with panning: 1/30 s, follow a passing car smoothly, shutter pressed mid-swing. Two out of ten will be good. That ratio improves with practice, not with settings.
Day 4: ISO is the last resort, and it is fine
Go indoors after dark. Set f/2.8 and 1/125 s, because a person talking needs at least that to stay sharp, and now raise ISO until the meter reaches zero. In a normally lit living room that lands around ISO 3200. In a restaurant it might be 6400 or 12800. Shoot anyway.
Compare a frame at ISO 800 with the shutter at 1/30 s against the same scene at ISO 6400 and 1/250 s. The first is cleaner but the face is blurred; the second has grain but the eyes are crisp. This is the day you stop fearing ISO. Noise is a texture; blur is a lost picture. On a modern full-frame body, ISO 6400 prints beautifully at 30 by 45 cm, and even an APS-C sensor holds up well at 3200.
Day 5: when the meter lies
The meter assumes every scene averages out to a mid-grey. Most do. Snow, white sand, a black cat on a black sofa and a bride in white do not. Today, find a scene that is mostly bright, such as a white wall in sun or an overcast sky over a field, and shoot it at meter zero. It will come out dull grey. Add a stop and a third of exposure (from 1/500 s to 1/200 s, say) and it turns back into white.
Then do the opposite with something dark. A meter reading of zero on a dark subject makes it grey and washed out; take away a stop to keep it deep. The rule that sticks: the meter tells you what the scene reflects, and you correct for what it should look like. Bright scenes, add; dark scenes, subtract; between one and two stops either way is usually enough.
Days 6 and 7: put it together and shoot for real
On Day 6, walk for two hours and change the settings before you raise the camera, based only on what you see. Coming out of a building into sun: f/8, 1/500 s, ISO 100. Into a shaded street: open to f/4 and keep the shutter. Into a cafe: f/2.8, 1/125 s, ISO 3200. Check the meter after you set, not before. When it reads within half a stop of where you guessed, you have learned to see light. That is the real skill; the dials were only the way in.
Day 7 is a shoot with stakes. A friend’s portrait, a market, a match, anything where a missed frame matters a little. Stay in M for the whole thing. Use Auto ISO if the light changes fast, with a ceiling of 6400, because that is still manual: you are choosing the two dials that shape the picture and letting the camera handle the volume knob.
- Bright sun: f/8 to f/11, 1/500 s, ISO 100.
- Open shade or overcast: f/4 to f/5.6, 1/250 s, ISO 200 to 400.
- Indoors by day: f/2.8, 1/125 s, ISO 800 to 1600.
- Indoors at night: f/2, 1/125 s, ISO 3200 to 6400.
- Blue hour on a tripod: f/8, 4 s, ISO 100.
Those five starting points cover most of what we shoot in a normal week. After a week in M you will not always use it; aperture priority with exposure compensation is quicker for many jobs. But you will know what the camera is doing on your behalf, and when it gets it wrong, you will know why and fix it in a second.