
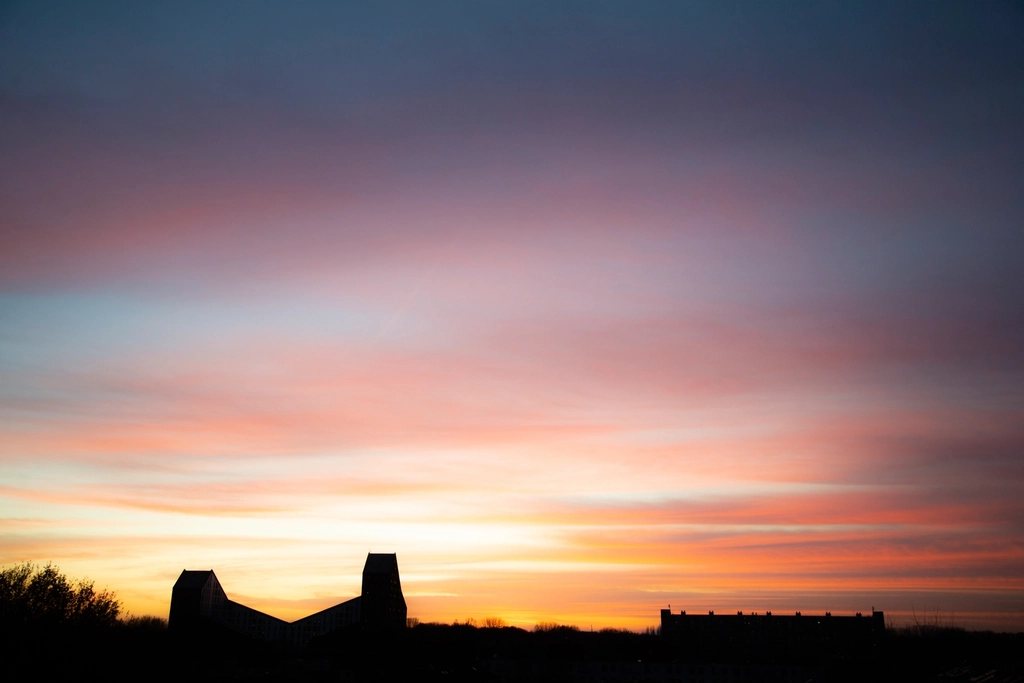
White balance is the setting most of us leave on auto and then argue with in editing. Auto is good, better every year, and still wrong often enough to matter: the warm restaurant that turned grey, the snow scene that went blue, the portrait under a green-tinted fluorescent tube. Understanding what the camera is doing lets you get it right in the field, and shooting RAW lets you fix it without penalty when you do not. Here is how the Kelvin scale works, when the presets help, and why the RAW file makes most of the anxiety go away.
Why a white wall is never white
Every light source has a colour. Candlelight is deep orange, a household bulb is warm yellow, midday sun is close to neutral, open shade under a blue sky is distinctly blue. Our eyes and brain correct for this without effort, so a white shirt looks white by candlelight and in shade. A sensor does not correct anything. It records the actual colour of the light bouncing off the shirt, and the white balance setting is the instruction that tells the camera which colour to call white.
Get it right and every other colour falls into place. Get it wrong and skin goes orange or corpse-grey, and no amount of saturation adjustment rescues it, because the error is a shift, not a lack of colour.
The Kelvin scale, in practical numbers
Light colour is described as a temperature in kelvin, borrowed from physics: heat a piece of metal and it glows red at low temperatures and blue-white at high ones. Counter-intuitively, low numbers are warm and high numbers are cool. The white balance setting is the temperature of the light you are in. Set 3000 K under a 3000 K bulb and the camera neutralises the orange. Set 3000 K in daylight and everything turns strongly blue, because the camera is removing an orange cast that is not there.
- 1900 K: candle flame.
- 2700 to 3200 K: household bulbs, warm LED, tungsten studio lights.
- 4000 to 4500 K: fluorescent tubes, many shop and office LEDs, sunrise and sunset.
- 5200 to 5600 K: direct sun at midday, flash.
- 6500 to 7500 K: overcast sky, open shade.
- 9000 K and above: deep shade under a clear blue sky, twilight.
There is a second axis the temperature scale does not cover: the green-magenta tint. Fluorescent and cheap LED lights sit off the line, usually green, and correcting only the temperature leaves skin looking faintly ill. The tint slider, in the camera or the editor, moves along this second axis. A typical office ceiling needs 4200 K and about plus 15 to 20 on the magenta side.
Presets: quick and roughly right
The camera’s presets are just fixed Kelvin and tint values with icons. Daylight is about 5200 K, Cloudy about 6000 K, Shade about 7000 K, Tungsten about 3200 K, and Fluorescent varies between 3800 and 4500 K with a magenta shift. They are worth using for two reasons. First, they are consistent: a whole set of frames at Cloudy will match each other, which auto does not guarantee as it re-evaluates every frame. Second, they let you keep a mood on purpose. A sunset shot on auto often gets neutralised to grey-pink; on Daylight it stays gold, because the camera is not fighting the warmth.
The custom or preset white balance measured from a grey card is the precise option. Fill the frame with a neutral grey or white surface under the actual light, run the custom routine, and every frame in that light is exact. We do this for product work, interiors, and anything where the client will compare colours against the real thing. Under mixed light, say tungsten lamps and a blue window, no single setting is right, and the answer is either gel the lamps, switch some off, or accept that one part of the frame will lean warm.
Auto white balance and when it fails
Auto works by assuming the scene averages to neutral, the same assumption the exposure meter makes, and it fails in the same places. A frame dominated by a warm colour, such as a wooden room or an orange wall, gets cooled because the camera reads the wood as a cast. A snow field or a blue-hour street gets warmed for the same reason. Many cameras offer an auto with a priority for keeping warm tones, which is the one to use indoors at night. Auto also drifts frame to frame as people in coloured clothes walk through, which makes a sequence flicker when edited together.
Our rule: auto outdoors in changing light, a preset or a Kelvin value indoors and for any series that needs to match, and a grey card whenever colour accuracy will be judged.
Why RAW makes white balance a choice, not a risk
A JPEG applies white balance at the moment of capture and throws away the original sensor data. Shift a JPEG from 3200 K to 5500 K in editing and the colours stretch and band, especially in skies and skin. A RAW file records the sensor values before any white balance is applied; the setting you chose is stored as a note, and the editor applies it as a starting point. Changing it later is mathematically identical to having set it in the camera. There is no loss at all.
That is the reason we say white balance is the one setting where RAW turns a mistake into a preference. Set the camera to whatever makes the preview look right, because the preview is what you judge composition and exposure by, and then decide the final colour on a calibrated screen. The one exception is exposure: a strongly wrong white balance shifts the individual colour channels, and a frame that looks fine on the screen can have a clipped red channel under tungsten light. Check the RGB histogram, not just the luminance one, when shooting warm scenes.
A workflow that holds up
In the field: auto outdoors, Daylight for sunsets to keep the colour, a fixed Kelvin indoors, a grey card for paid colour. At the computer: correct one frame per lighting situation with the eyedropper on something neutral, then sync that value across every frame shot in the same light. Adjust tint before temperature under artificial light, because the green shift is usually the bigger problem. Then, and only then, decide whether the picture wants to be warmer or cooler than accurate. Neutral is the starting point, not the destination; most portraits look better a few hundred kelvin warm, and most night streets a little cool.
White balance is not a technical hurdle once you know the numbers. It is a colour decision, and RAW gives you the luxury of making it twice.